SOLIDWORKS Flow Simulation 2023 has improved the volume of fluid method (VOF) for simulating flows with a freely moving interface between two immiscible fluids. This allows you to include rotating regions and solve mixing simulations with greater precision. Plots can help you discover multiple improvements for post-processing activities that will speed up the publishing and sharing of meaningful results by reducing the amount of time required to create and modify plots.
Table of Contents
How do I start a project for Flow Simulation analysis?
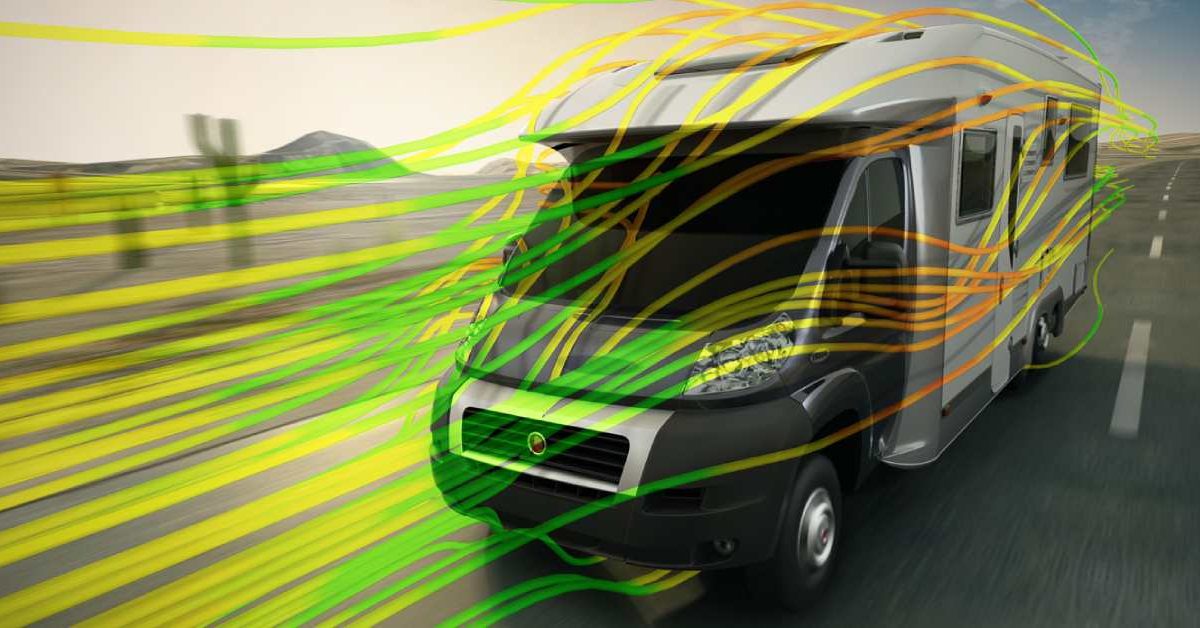
Computational fluid dynamics (CFD) analysis software is SOLIDWORKS flow simulation. The understanding of fluid motion around or through your design is provided by flow simulation. A conjugate heat transfer solver, parametric optimization, rotating regions with sliding mesh, free surface capabilities, and numerous other options are included in Flow Simulation. This article will focus on how to get started with flow simulation and how to conduct an effective analysis.
Activating the Flow Simulation Add-In is the first step in conducting a flow analysis. This can be found on the Add-Ins command manager tab or next to the options at the top of the screen.
When Flow Simulation is added, a Flow-specific tab appears in the command manager.
Preparing the geometry is the next step in a SOLIDWORKS Flow Simulation analysis. Let’s say that the analysis we want to finish is an internal analysis and that the Create Lids tool was used to put lids on the model to protect the internal volume.
To begin your project, SOLIDWORKS Flow Simulation provides a Setup Wizard. The settings you need to complete a successful Flow study are explained by the Setup Wizard.
Step through the setup while the Wizard is open, selecting project options as you go. Give your project a name and select the model configuration you want to analyze. To proceed to the subsequent step, select Next.
Pick the Units for the project. Keep in mind that you can combine units according to your requirements.
Select the area for analysis. The fluid inside the geometry is analyzed internally, while the fluid outside and inside the geometry are analyzed externally.
By checking the boxes, you can expand your analysis options.
Heat transfer through solids: activates the thermal solver and makes it possible to calculate conduction and convection.
Radiation: explains the radiative thermal properties and enables the geometry’s radiation characteristics.
Dependent on time: switches to a transient analysis instead of the standard steady state.
Gravity: enable the effects of natural buoyancy.
Rotation: enables the global, local averaging, and sliding capabilities of rotating regions.
Surface free: allows fluids to be separated.
By maintaining a stable internal state for the project, we will keep this analysis straightforward.Select the fluid or fluids that you want to use for the analysis next. Water was added in this instance.This analysis is unaffected by the default roughness and wall condition, so they are accepted.Also accepted are the default initial conditions, which are room temperature and atmospheric pressure at sea level.